Why Do Drill Bits Burn Out When Drilling Stainless Steel? Causes, Fixes & Prevention Tips
Why Do Drill Bits Burn Out When Drilling Stainless Steel? Causes, Fixes & Prevention Tips

Nothing disrupts shop momentum like watching a brand-new bit turn blue, squeal, and seize halfway through a stainless steel hole. One minute you're cutting clean chips, the next you're staring at a glazed, work-hardened crater and a bit that's fit for the scrap bin. If this sounds familiar, you're not alone, stainless steel is notorious for chewing through tooling faster than almost any other common metal.
The good news: drill bit burning is almost always the result of a handful of predictable mistakes in bit selection, speed, feed, or cooling. The same principle applies to maintenance planning, ignoring a known risk until the last minute usually creates more disruption than addressing it early. Whether you're preventing tool failure or planning around SAP ECC end of maintenance, proactive preparation gives you more control over the outcome. Understanding drill bit burnout starts with recognizing how the right industrial tooling supplier and technique affect heat, friction, and tool life.
At Penn Tool Co., we talk to fabricators and maintenance crews every day who assumed their bits were simply “bad”, when the real issue was technique. Below are the 10 most common causes of stainless steel drill bit burnout, along with the fixes that actually solve them.
Stainless Steel's Dirty Secret: Why It Fights Back Harder Than Other Metals
Stainless steel isn't just harder than mild steel, it's a different kind of opponent. It has low thermal conductivity, so heat generated at the cutting edge has nowhere to go except back into your bit. It also work-hardens rapidly: the moment a dull edge rubs instead of cuts, the surface becomes harder than the layer underneath, making every subsequent pass tougher.
Add high shear strength and a tendency to gum onto the flutes, and you've got a metal engineered to punish the wrong metalworking tools and the wrong technique in equal measure.
Not All Stainless Is Created Equal: Matching Your Strategy to the Grade
Know your grade before drilling, different stainless families punish different mistakes:
- Austenitic (304, 316): Highly corrosion-resistant but gums up bits. Punishes hesitation and uneven feed with rapid work-hardening.
- Martensitic & PH (410, 17-4): Hard and abrasive. Quickly dulls cutting edges even at correct operating speeds.
- Duplex Grades: Combines high strength with extreme heat buildup under load.
The Strategy: Maintain a firm, constant feed on 304/316 to avoid work-hardening. Heavy-duty cobalt bits and high-heat cutting fluids are essential for 410, 17-4, and duplex alloys.
The 10 Ways You're Accidentally Cooking Your Bits
1. Reaching for Standard HSS Instead of Cobalt or Carbide
Standard high-speed steel simply can't hold its hardness at the temperatures stainless steel generates. The edge softens, rounds over, and burns in a matter of seconds. The fix is straightforward: step up to cobalt machinist tools.
Penn Tool Co.'s Morse H.S.S. & Cobalt Drill Sets give you both options side by side, and cobalt alloys like the IRWIN 135° Cobalt Jobber Length Drill Bit Set are purpose-built to retain hardness well past the point where standard HSS fails.
2. Running the Drill Press or Handheld Drill Too Fast
Higher RPM feels productive, but on stainless it generates heat faster than it can dissipate. Excess speed is one of the single biggest causes of premature edge failure when operating manual or cnc machining equipment. Drop your surface speed well below what you'd use on mild steel, and let the bit do the cutting rather than the friction.
3. Skipping Cutting Fluid Entirely
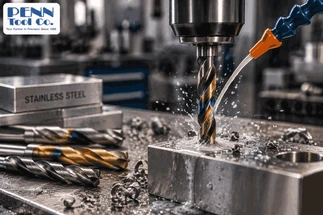
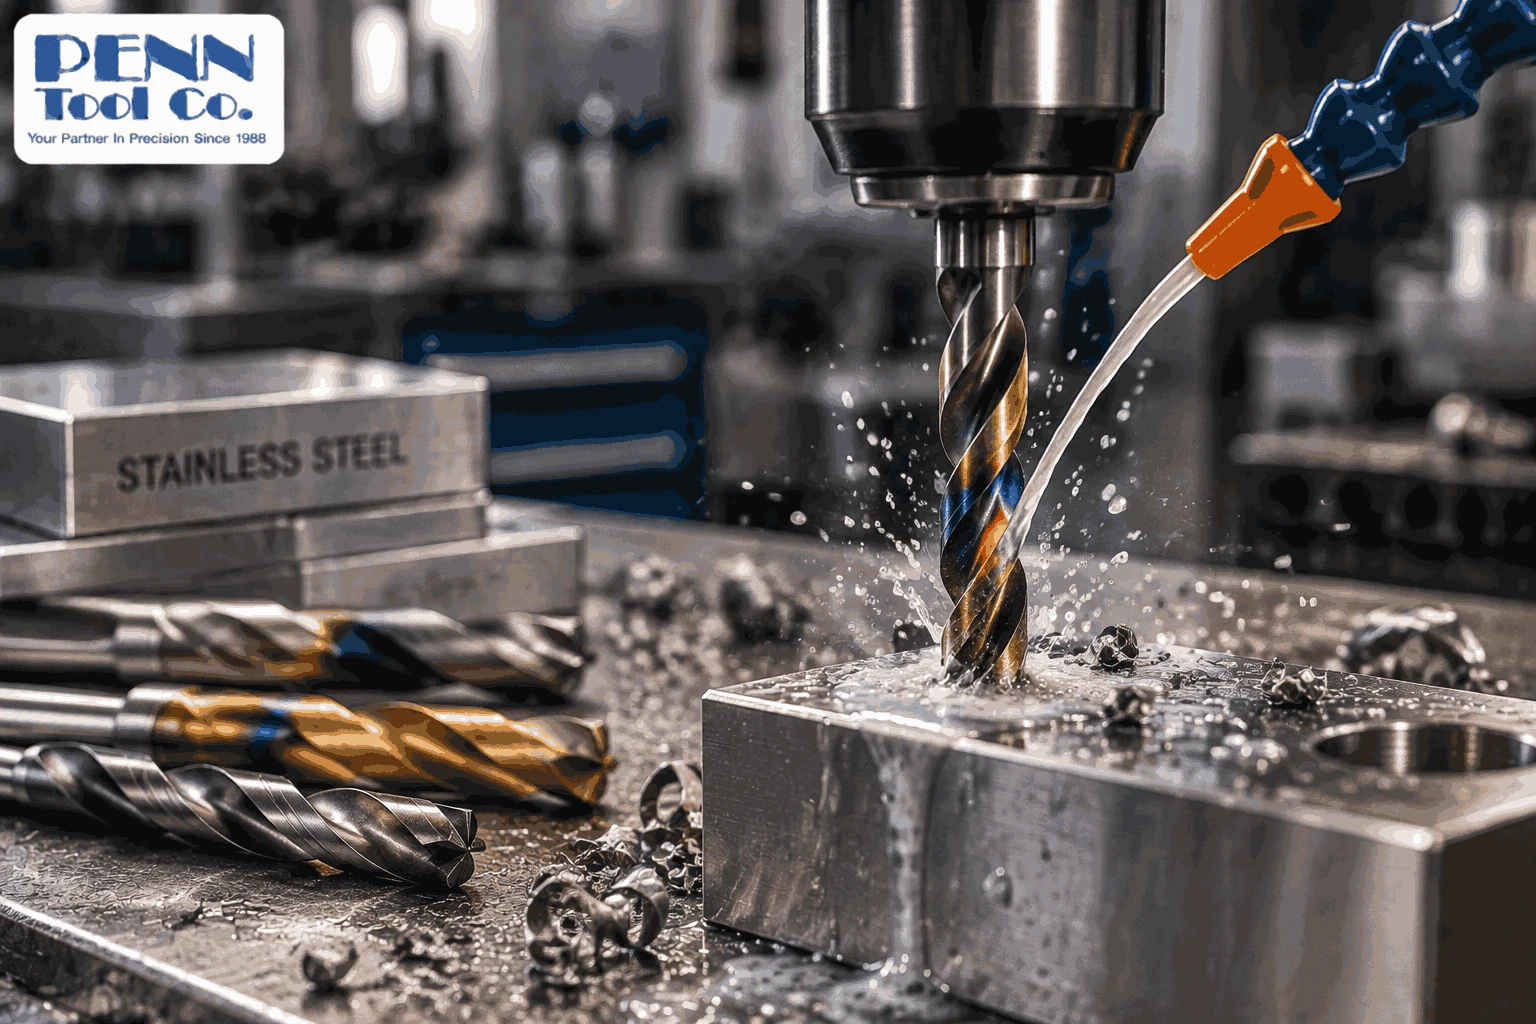
Drilling stainless dry is one of the fastest ways to destroy a bit. Cutting fluid reduces friction, carries heat away from the cutting edge, and helps prevent the work-hardening that turns a clean hole into a fight.
Keep a bottle of Ashburn Chemical Technologies Cutting and Tapping Fluid for Stainless Steel and Titanium or CRC TrueTap HD Cutting and Tapping Fluid at the machine, and apply it continuously, not just at the start of the hole.
4. Feeding Too Lightly and Letting the Bit Rub
Counterintuitively, being too gentle is often worse than being too aggressive. A light feed lets the cutting edge rub across the surface instead of biting into it, generating friction heat and triggering work hardening. Maintain firm, consistent feed pressure so every rotation removes a real chip.
5. Using the Wrong Point Angle for the Alloy
A standard 118° point works fine on mild steel, but it struggles to initiate a clean cut on stainless steel's tougher surface. A 135° split-point geometry centers faster, resists walking, and starts cutting immediately instead of skating and generating heat. Cobalt sets like the Value Collection 118° Cobalt Taper Length Drill Bit and Titan USA 135° Cobalt Jobber Length Drill Bit give you options across both geometries depending on your application.
6. Continuing to Drill With a Dull Edge
Once a bit starts to dull, every additional hole accelerates the damage, dull edges generate more friction, more heat, and more work hardening, which dulls the edge further in a vicious cycle. Watch your chip color and shape closely; blue or purple chips are a warning sign that it's time to stop, inspect the edge, and resharpen or replace before pushing on.
7. Poor Workholding That Lets the Part or Bit Move
Even a small amount of vibration or part movement concentrates load unevenly on the cutting edge, causing localized overheating and chipping. Clamp your stainless workpiece securely, minimize bit stickout, and make sure your machining equipment or fixture isn't introducing play into the setup.
8. Jumping Straight to a Large Diameter Without a Pilot Hole
Asking a single large bit to remove all that material at once concentrates enormous heat and force at the cutting edge. Step up gradually with a pilot hole first, then finish to size, this reduces the load on any one bit and keeps temperatures manageable throughout the process. A Cobalt Step Drill Bit Set is a convenient way to progress through multiple diameters with a single tool.
9. Failing to Retract and Clear Chips
Stainless chips are stringy and tend to pack into the flutes rather than evacuate cleanly. When chips can't escape, they trap heat right at the cutting edge. Use a peck-drilling approach on deeper holes: drill a short distance, retract fully to clear the flutes, then continue.
10. Ignoring the Finishing Step and Re-Drilling Burrs
A burred or work-hardened hole edge often tempts operators to re-enter the hole with the same bit to "clean it up," which just reheats an already-stressed area and accelerates wear. Instead, finish holes properly the first time with a dedicated deburring tool. Penn Tool Co.'s HSS Countersink and Deburring Tools, the all-in-one Deburring Kit, and the NOGA Countersink Deburring and H.D. RotoDrive system lets you clean up an edge in seconds without ever touching the drill bit again.
Read the Warning Signs: A Symptom-to-Fix Cheat Sheet
When a bit starts acting up mid-job, you rarely have time to reread ten causes; you need to match what you're seeing to what's wrong, fast. Use this table as a shop-floor cheat sheet.
|
Symptom |
Likely Cause |
Fix |
|---|---|---|
|
Bit turns blue/purple quickly |
Excess RPM or no cutting fluid |
Slow down; apply cutting fluid continuously |
|
Bit squeals and stops cutting |
Dull edge or wrong point angle |
Resharpen/replace; switch to 135° split point |
|
Hole surface looks glazed/hardened |
Feeding too lightly |
Increase and maintain firm feed pressure |
|
Bit walks off-center at start |
Wrong point geometry |
Use split-point cobalt bits |
|
Chips jam in flutes |
No peck drilling on deep holes |
Retract regularly to clear chips |
|
Repeated bit failures on same job |
Standard HSS on stainless |
Upgrade to cobalt or carbide |
|
Rough, burred hole edges |
No deburring step |
Finish with a dedicated deburring/countersink tool |
Building a Burnout-Proof Stainless Drilling Routine: A Working Checklist
Fixing one of these ten issues in isolation helps, but the real gains come from treating your industrial tools as a complete system. Before your next stainless job, run through this checklist:
- Confirm the stainless grade you're working with, and match your bit material and cutting fluid accordingly.
- Select a cobalt or carbide bit with a 135° split point rated for stainless.
- Set your speed lower than you would for mild steel, and don't compensate with excess feed pressure.
- Apply cutting fluid continuously from the first contact through the last chip.
- Clamp the workpiece securely and keep the bit stickout to a minimum.
- On deeper or larger holes, drill a pilot hole first and peck-drill to clear chips regularly.
- Watch chip color throughout the cut, stop at the first sign of blue or purple.
- Finish every hole with a proper deburring or countersinking tool rather than re-entering it with the drill bit.
Do this consistently, and you'll see dramatically longer bit life, cleaner holes, and far fewer mid-job tool changes.
Beat the Burnout: Building a Shop That Never Fears Stainless Again
There's no single fix for stainless steel drill bit burnout, it's the sum of small decisions: the right bit material, the right speed and feed, steady cutting fluid, secure workholding, and a proper finishing step instead of a rushed re-drill. Get those fundamentals right, and the blue chips, squealing edges, and glazed holes that used to eat into your production time become the exception instead of the rule.
The smartest shops build this into habit rather than relearning it job after job: keep a stainless-rated straight oil like Castrol Variocut C Moly Dee Cutting and Tapping Fluid or the all-metal Monroe Fluid Technology Cool-Tool II Cutting Fluid within reach of every machine, and close out each hole with a finishing tool like the NOGA Reversible Countersink Tool Holder Set instead of re-entering it with a worn bit.
Penn Tool Co. has spent over 50 years helping machinists, fabricators, and maintenance crews equip their shops with high-performance industrial manufacturing tools that actually hold up to stainless steel's abuse. Whether you need heat-resistant cobalt bits, stainless-rated cutting fluids, or finishing tools that save your edges from unnecessary rework, relying on a dedicated industrial tools guide and the right setup is what turns a frustrating stainless job into just another day on the floor.
Frequently Asked Questions
Why does my drill bit turn blue when drilling stainless steel?
Blue or purple discoloration means the cutting edge has overheated and lost its temper. It's almost always caused by excess speed, no cutting fluid, or a dull edge rubbing instead of cutting.
Do I really need cobalt bits for stainless steel, or will HSS work?
Standard HSS can drill thin or mild-grade stainless occasionally, but it dulls fast and burns easily under sustained use. Cobalt bits hold hardness at much higher temperatures, making them the practical choice for regular stainless work.
What RPM should I use for drilling stainless steel?
Stainless requires notably lower speeds than mild steel because heat builds up faster and has nowhere to escape. Run at reduced RPM and let a firm, steady feed do the cutting instead of speed.
How do I know if my drill bit is too dull to keep using?
Watch for blue chips, squealing, excessive pressure needed to advance, or a hole surface that looks glazed rather than cut. Any of these signs mean it's time to resharpen or swap the bit before continuing.